Our Jewellery
Wanderlust Life is a small, woman-owned jewellery brand. We started out producing handmade gemstone necklaces in a spare bedroom by the sea, and 10 years on we’re still making personalised pieces by hand using meaningful gems, sustainable materials and practices that are kind to the planet.
Our jewellery is a radiant expression of good energy. By blending style, affordability, sustainability and positive vibes, we aim to provide beautiful, meaningful pieces to anyone who wants to shine bright and spread joy.
GEMSTONES
Semi-precious gemstones are a signature of our brand. Our collection features over 40 stones, each bringing unique properties, colour and energy to the wearer. Where possible, we use lab-grown gems in our designs. These genuine gemstones are created in a controlled environment, which means they’re both eco-friendly and ethical.
PRECIOUS METALS
The majority of our designs use gold fill, composed of a solid layer of 14k gold bonded with heat and pressure to a base metal. It’s 100 times thicker than gold plate, offering the appearance of fine gold with affordability. We also use gold vermeil in some of our pieces, which is sterling silver plated in 9k gold. All of the gold and silver we use comes from 100% recycled resources.
COLLABORATION
We work in partnership with traditional artisans in Jaipur and in Birmingham’s jewellery quarter to handcraft special pieces for our collections. As certified members of the Responsible Jewellery Council (RJC), they adhere to and promote the RJC Code of Practices, which is the global standard for responsible supply chains in the jewellery industry.

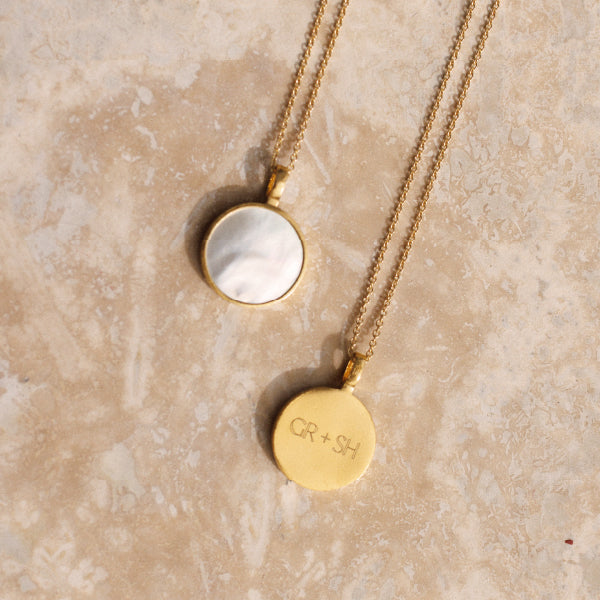


Choose a gemstone according to its properties or mantra, personalise with a monogram tag or engrave your own message.


Designed in Devon, each Wanderlust Life piece is handmade, either by our team in our own studio or by our artisan partners.